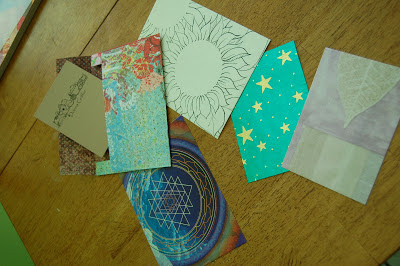
I bought a wonderful pad of paper after the Philly show to use for making my "thank-yous" and when I was done, I remembered making envelopes a few years ago. Back then, I used magazine pages, wrapping paper, empty gift bags and drew some of my own designs. Now we have this lovely paper that has a different design on each side! The envelope you make will already be lined!!
It's so simple, I thought you might like to see how you too can "wow" your correspondents by putting a one of a kind piece of art in their mailboxes.
First, using your favorite envelope, take it apart, flatten it out and make a template. A regular paper one will do, but if you have some quilters' template plastic (thank you to quilters for your products, too) - all the better!
and cut it out!
Use a straight edge to fold up the stick-y-out bits (you can use the template you've made for this) so that when folded all together, you have an envelope shape!!
Use a glue stick to secure the bottom to the side flaps. Only glue as high as the bottom flap comes up!
Just use the glue stick to seal it up!! I'll bet you'll hear good things for whoever is lucky enough to get this artwork in the mail!!
Here are some envelopes I've made using - starting from the left - a magazine page, the scrapbook paper, one of my designs on plain paper, wrapping paper (the shinny one with stars) and a decorative bag that was too pretty to toss! I hope you will try this out!!
and NOW!!!!!
Happy 1st Birthday to our little rescue kitties. It's hard to believe they were born a year ago under our deck!
All kitties had real tuna for dinner and the wee ones each got a special catnip toy.
and here's Cheeto! who has come to inspect the cake! The kitties didn't care much for the people cake, but loved the tuna! I wondered what the odds of getting a portrait of all of them on their birthday would be. Jason suggested photoshop would be a better option. He was right. I took many photos and all of them were blurred. Oh to have the energy of a yearling kitten!!


No comments:
Post a Comment